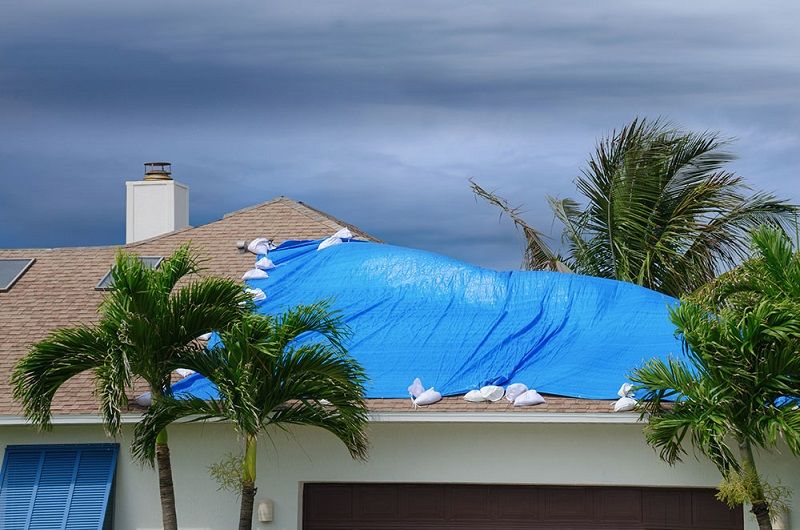
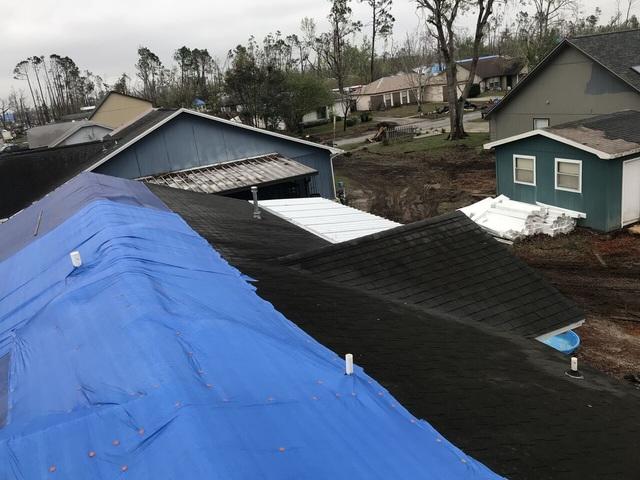
How To Sucure A Tarp To Tile Roof

Install A Blue Tarp On A Roof Diy In A Hour

Utarpit Barrel Tile Installation Youtube

How To Cover Your Roof After Storm Damage Hunker
How To Tarp A Roof Without Nails Contractor Quotes

How To Tarp A Roof The Home Depot

7 Steps To Temporarily Patch Your Roof With A Tarp Roof Emergency Roof Repair Roof Patch Roof Repair

Find the source of the leak.
How to sucure a tarp to tile roof.

Tarp Roofing An Ultimate Guide Canvasandcanopy Com
How To Tarp A Tile Roof Orlando Roof Tarping Roof Repair Orlando Temporary Repair

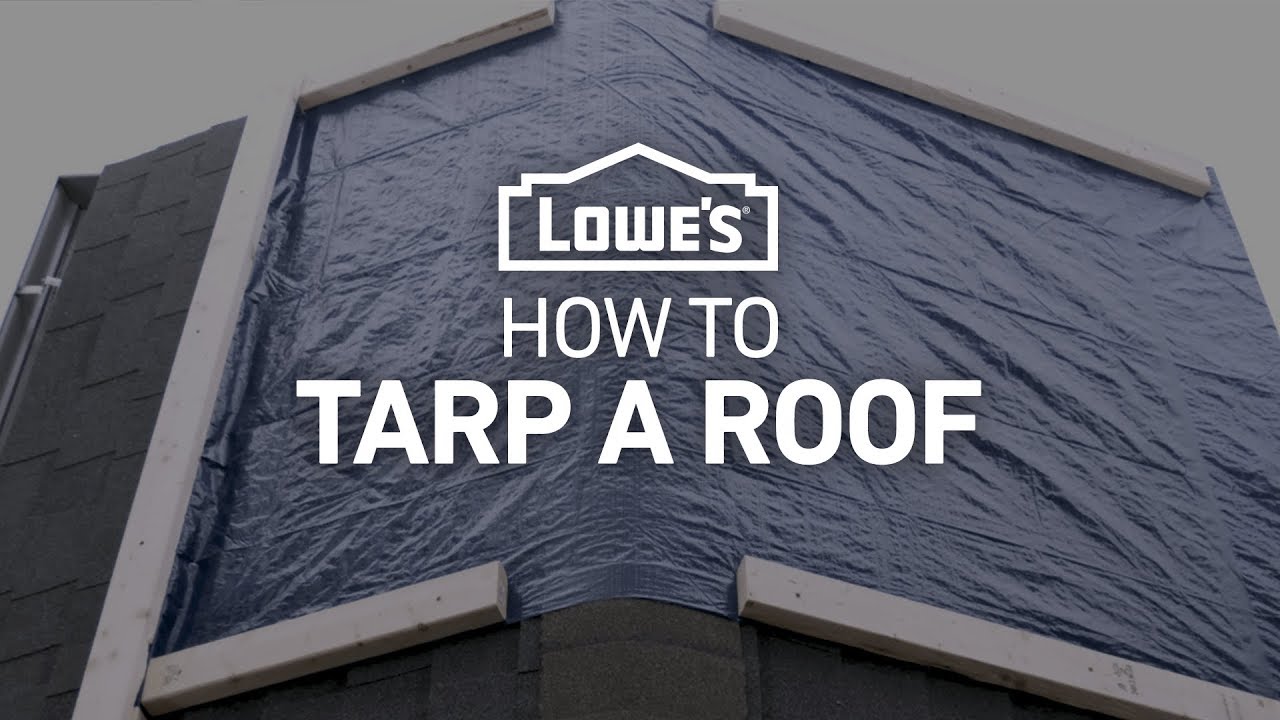
How To Tarp A Roof

How To Temporarily Patch A Leaky Roof With A Tarp
How To Tarp A Roof For Temporary Roof Repair
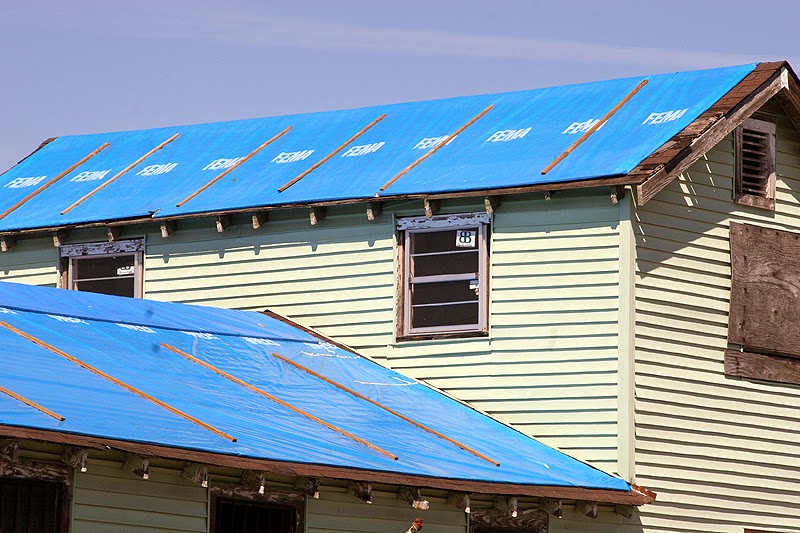
How Much Will Mytemporary Repair Cost Tarp Nightmare

Utarpit Self Adhesive Roofing Tarp For Pros The Home Depot Youtube
Emergency Roof Tarp Hurricane Damage Repair Belacris Construction And Roofing
How To Tarp A Roof Severe Weather Guide Youtube
Emergency Roofing How Long A Tarp Should Last For You

Emergency Roof Repair Procedures That Saves Money

How To Tarp A Roof A Complete Guide Rethority
Resolving Problems With Roofing Jobs

How To Tarp A Roof Like A Pro Grizzly Tarps Blog

Osha S Hazard Exposure And Risk Assessment Matrix For Hurricane Response And Recovery Work Roof Inspection Tarping Repair And Replacement

Leo Roofing Construction Palm Beach Gardens Fl

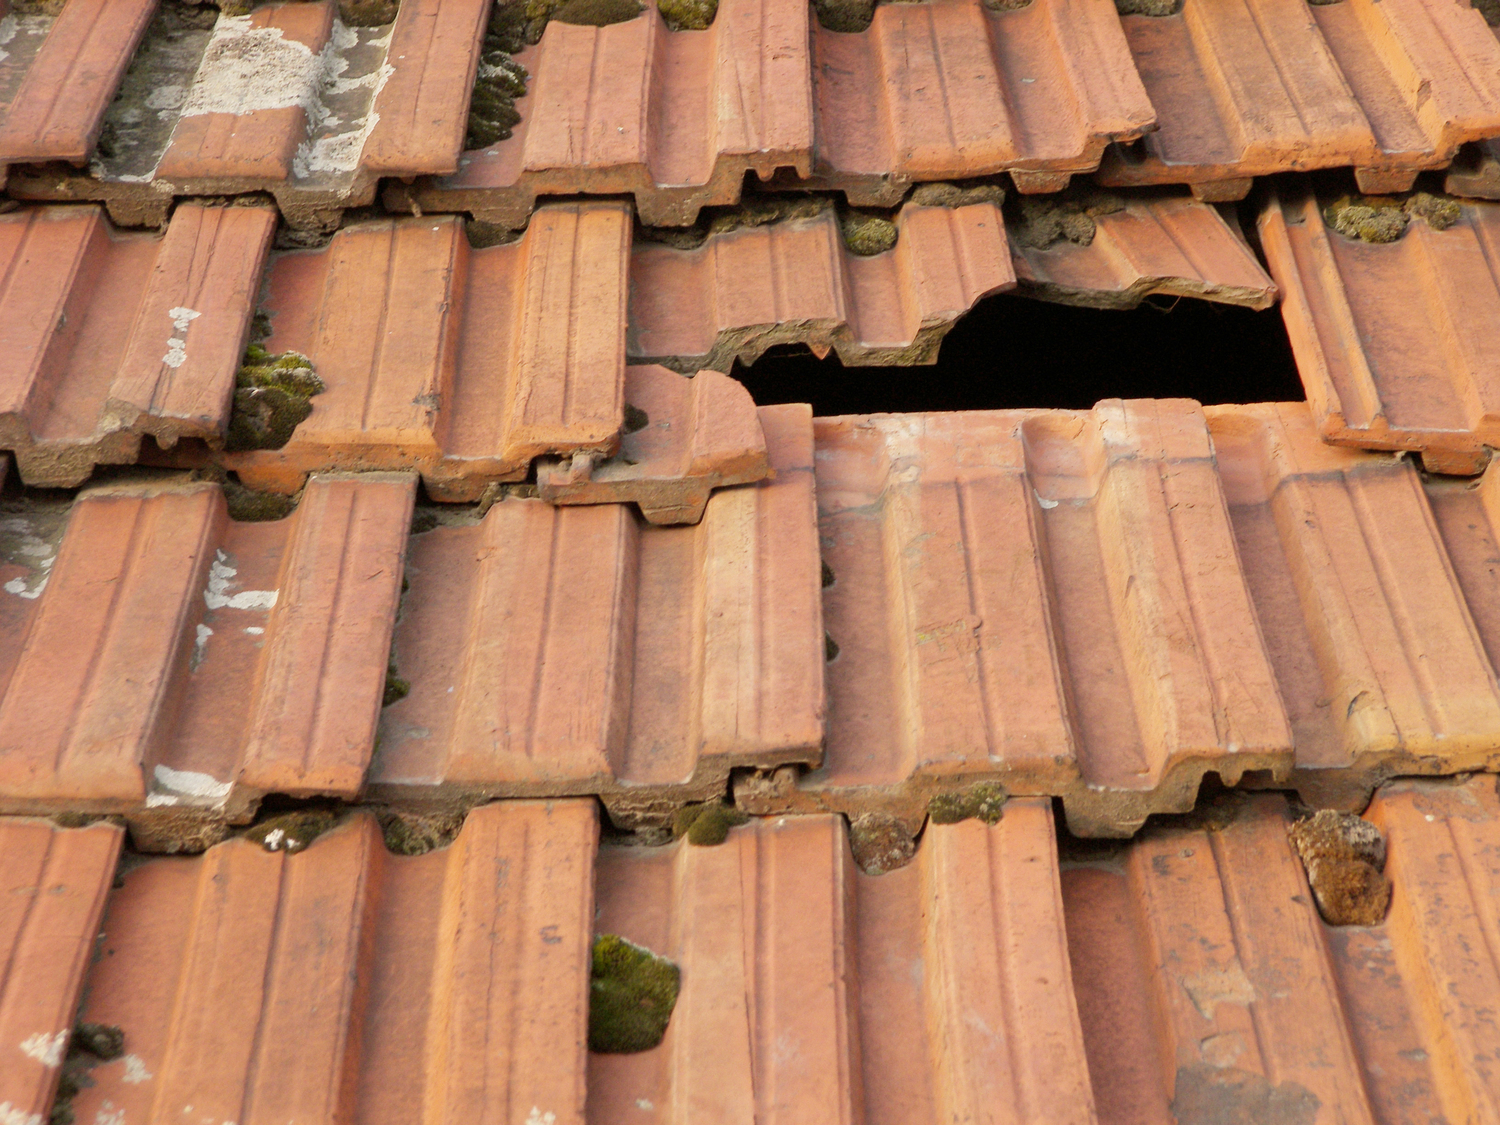
Metal Shingles Tile And Flat Roof Metal Roof Tiles Flat Roof Shingling

The Best Way To Tarp A Leaking Roof In An Emergency Gutter And Roof Repairs
Https Encrypted Tbn0 Gstatic Com Images Q Tbn 3aand9gcqhb7ffttswzcd5bnmttwzlb2ltnhgsraaqv1abzyggrzzoka9a Usqp Cau
Solareflex And Snow White Cooltarps For Cool Roofs
Case Studies Alan S Roofing Central Florida Orlando Tampa

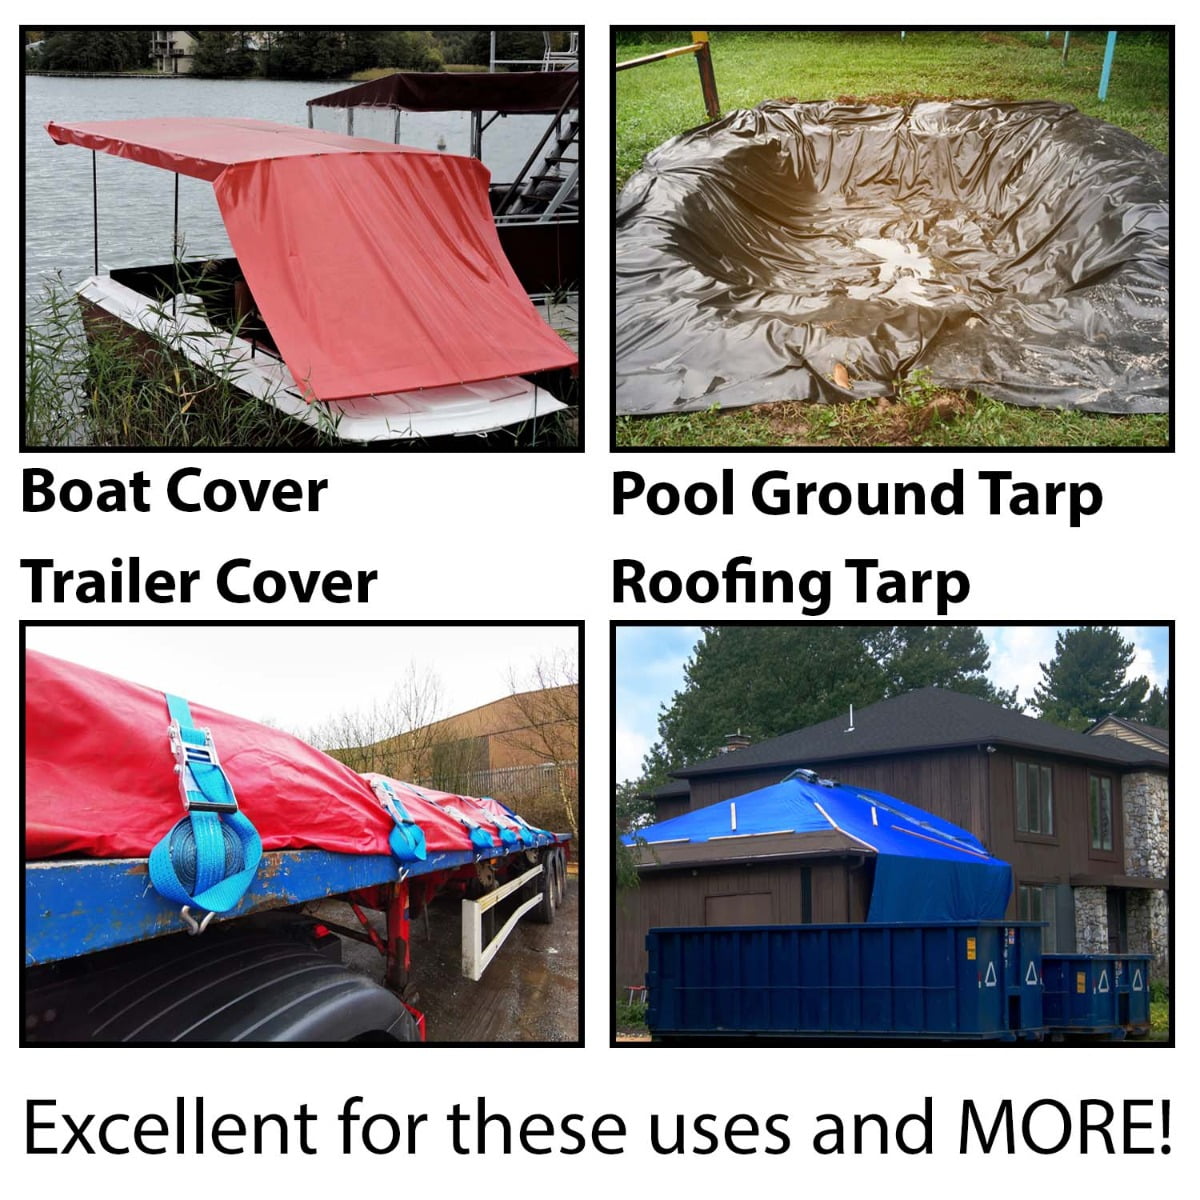
Tarps

Heavy Duty Waterproof Roof Tarps Tarp Factory
Moose Supply 4 X 18 12 Mil Pvc Vinyl Heavy Duty Waterproof Tarp Covers Blue Walmart Com Walmart Com
Source : pinterest.com
